Here is the step by step guide on how you to install and connect to VPNCity Windows app.
Please follow the steps below
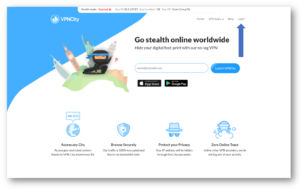
1. Log in to your VPN City account.
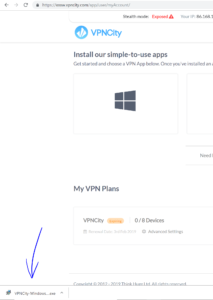
2. You’re now at “My Account“. From here click the Windows Tile and the download should start.
![]()
3. Now, click the download file to start the install process (If you see a pop-up, please click yes to proceed to installation).
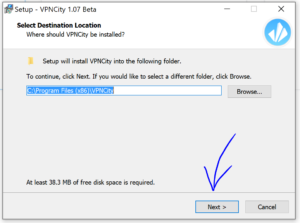
4. On the setup screen, choose “Next” on the first screen.
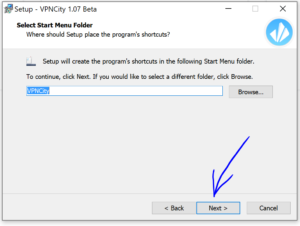
5. Leave the default name as “VPNCity” and then click “Next“.
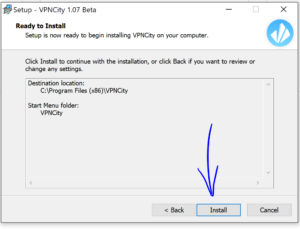
6. Now, being your installation by clicking “Install”
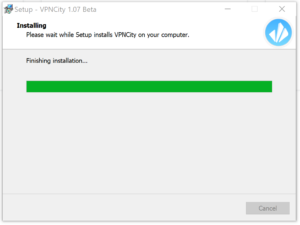
7. The installation process will look like this
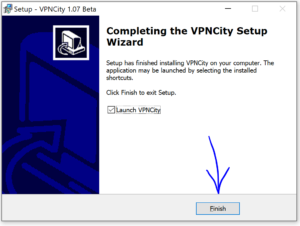
8. Once completed, please click “Finish” and your VPNCity Windows App will launch
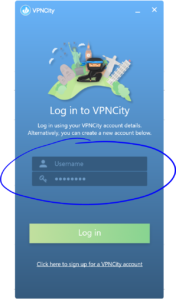
9. On the Windows VPNCity App screen, please enter your email and password into the fields highlighted below (p.s. the email and password to use is the same that you’ve used when you registered on VPNCity.com). Please then click Log In when ready.
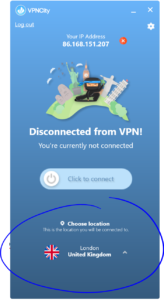
10. Awesome, you’re now logged into the VPNCity Windows App! Choose the Location you’d like to connect to
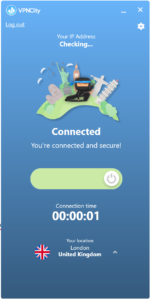
11. When you’ve selected the Location then Click To Connect
12. You should also see a pop-out in the lower right hand corner of your display. This is additional confirmation that you’re now connected to your selected location.
One you see this confirmation and the timer begin on the App itself, you’ve not successfully connect to VPNCity Windows App!
If you require any other assistance of support, please do not hesitate to contact us directly on live chat or ticket system (lower right hand corner of this screen).


