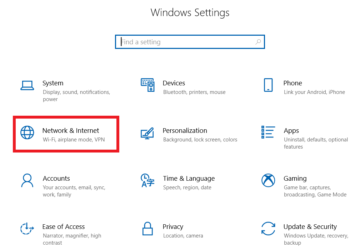
Here is the step by step guide on how you can manually configure your VPN on Windows.
Please follow the steps below
1. Log in to your VPN City account.
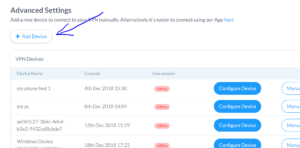
2. You’re now at “My Account“. From here, find “Advanced Settings” (highlighted below)
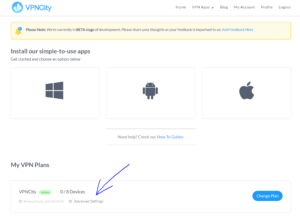
3. Now click “Add Device” as per below
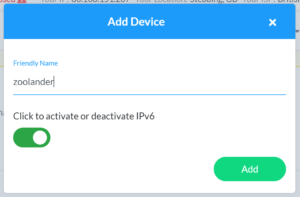
4. You will see a pop-up like below. Choose a “Friendly Name” and then click “Add”
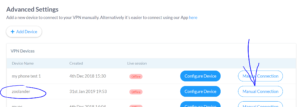
5. Next, click on “Manual Connection” for this device.
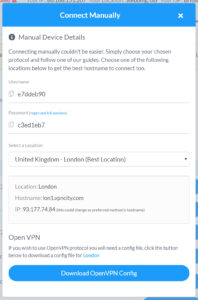
6. You’ll see a pop-out like below. Make a note of your “Username” and “Password”.
You can select the location you want to connect this device to and then click to “Download OpenVPN Config”
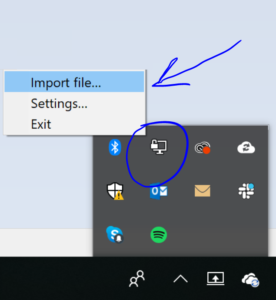
7. Now launch OpenVPN on your Windows desktop. It will run in the background and be found in the lower right toolbar. Right click the icon and then left click “Import file…”
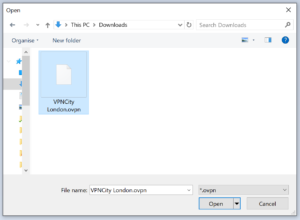
8. Now navigate to the config file that you downloaded form step 6, select it and then click Open.
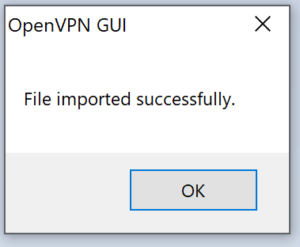
9. You’ll then see a pop-out confirmation screen. Hit Ok to close
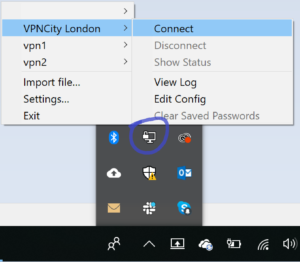
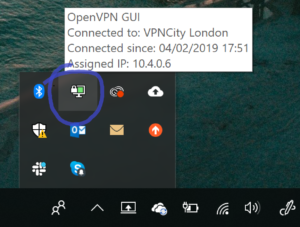
10. No go back to OpenVPN from your toolbar. Right click again on OpenVPN, select VPNCity London and then click Connect.
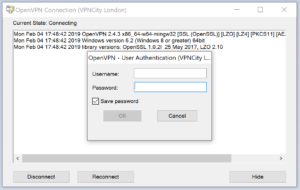
11. Now enter your Username and Password you saved from step 6 and hit Ok (if you wish, you can tick ‘Save password’ for next time).
12. You will not be connected to VPNCity via OpenVPN!
If you require any other assistance of support, please do not hesitate to contact us directly on live chat or ticket system (lower right hand corner of this screen).


